Introduction:
I wanted to run a game that would take place entirely inside a wild west saloon and gambling parlor. I was envisioning a big Hollywood style barroom brawl and shoot out. I knew the saloon would have to be outrageously large so that there would be room for a fight involving 8 - 10 players. I also wanted it to be cheap, durable, look good, and be easy to break down and transport.
The Floor and Walkways:
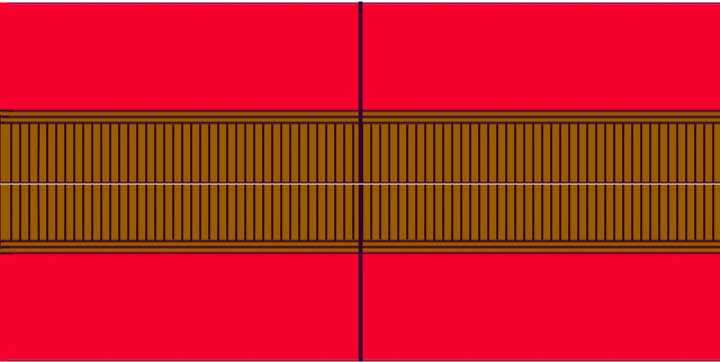
I bought a 2 x 4 piece of oak, ¼" thick at the local hardware store for $6. I cut this down to 24" x 28" with a power saw. That's a VERY large saloon. Use a smaller piece if you're going to run a game with fewer players and figures. I wanted the floor to look like wooden planks so I used a black ballpoint pen and a ruler to draw lines ¼" apart. This is hard on the pen, so use a cheap one. It also helps to have a large heavy ruler that will extend the full 28" and will stay in place while you are making the lines.
I drew perpendicular lines at irregular intervals to separate the lines into planks. The wood was given a coat of Minwax polyurethane gloss coat. It's wise to test the ink and polyurethane together ahead of time to make sure they are compatible. In the movies you always see wooden plank walkways around the western buildings. I made walkways for the front and side of the saloon using the method described above on some thin pieces of balsa wood (1 1/2" wide).
Outside Walls: I cut pieces of foam core to the correct length to form walls around the floor (two pieces about 24" long, two pieces about 28" long, they surround the floor, they don't sit on top of it). I did a rather poor job of measuring the length of the foam core, but it isn't very noticeable when it's put together. The walls were 2 1/2 " high. I used foam core because I hoped it wouldn't warp when I glued the paper to it. It did warp a little, but not enough to cause a problem. I tried to rabbet the corners as described on the Major Gerneral's web site (zeitcom.com/majgen/39howst.html) so they would fit together nicely, but did a poor job of it. No matter, the fit is satisfactory when pinned together. At each corner a pair of pins, which are almost invisible, hold the two pieces of foam core together. I decided not to cut out openings for the windows and doors (I admit to being a coward). Instead these would be pasted onto the walls later. The walls can be quickly put together and taken apart, and they are carried in a long sturdy box that used to hold fluorescent light bulbs.
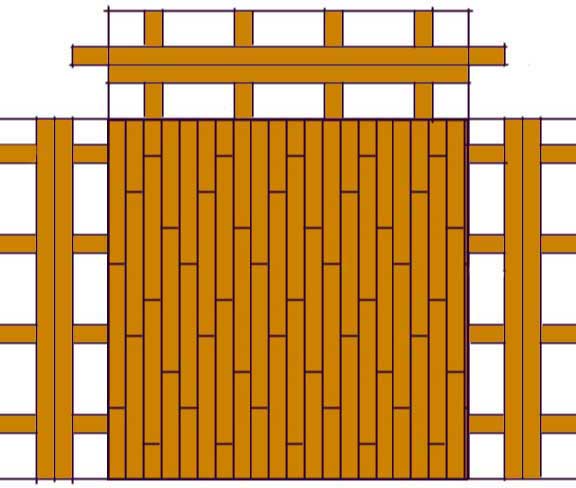
Walls: I decided that the outside of the tavern would be horizontal blue planking. I created a section of the wall on my computer using Adobe PhotoDeluxe. Other programs will do the job provided they have a ruler display you can use to help in drawing the lines. My planks were ¼" wide and 2 ¼" long. Once you make a section about 10" long (limited by the size of your paper) you can just copy it as many times as you need. I used the Copy and Paste function of the program to add windows and doors from one of the Add-On kits from Eric Hotz's Whitewash City paper buildings (www.erichotz.com). If you don't have the Add-On kit a search of free clip art sites should turn up some suitable doors and windows such as examples below. The walls were printed onto 65 lb paper. I think it would work better on heavier paper. The paper walls were glued onto the foam core (three paper sections per wall) using Elmer's glue. I used a cheap plastic windshield scraper to smooth out any wrinkles, and I used some heavy books to press the pieces flat while the glue was drying. Red rectangular pieces of paper, representing support columns, were glued on to conceal the joints between the paper pieces.
Interior Walls: Inside the saloon the walls have vertical wood paneling from the floor extending up 1", then there's red wallpaper. Again I created a section of wall on my computer. The wood paneling was 1/8" wide with some molding at the top and bottom. Windows and doors were added so that their positions would match the windows and doors on the outside. Remember that the bottom of the interior walls will be concealed, because the floor is ¼" thick, so mount the doors ¼" above the bottom of the interior walls. The walls were printed on 65 lb paper and glued to the foam core using the method described above. Brown columns were used to hide where the paper sections meet.
Interior Rooms:
I built my interior rooms from paper walls with the same wood and red wallpaper pattern as the interior walls. I eliminated the ¼" baseboard since the walls sit on top of the floor. I duplicated and flipped the wall sections so they would be double sided. After they were printed I scored the line between them, folded, and glued them together to create a wall with the same pattern on each side. Press the walls under some heavy books so they will be flat after the glue has dried. You can use a black magic marker to cover up the white that shows along the edges of the wall section. Once dry, I scored a fold line down the middle of the wall section and bent it to make a right angle. One of these right angle sections can be placed in a corner to form a room, and additional rooms can be built from there. This is very convenient because they aren't glued in place, making it easy to move, transport, and even rearrange them.
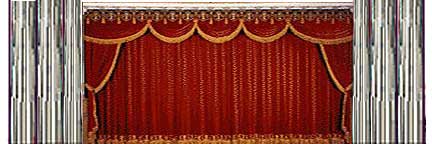
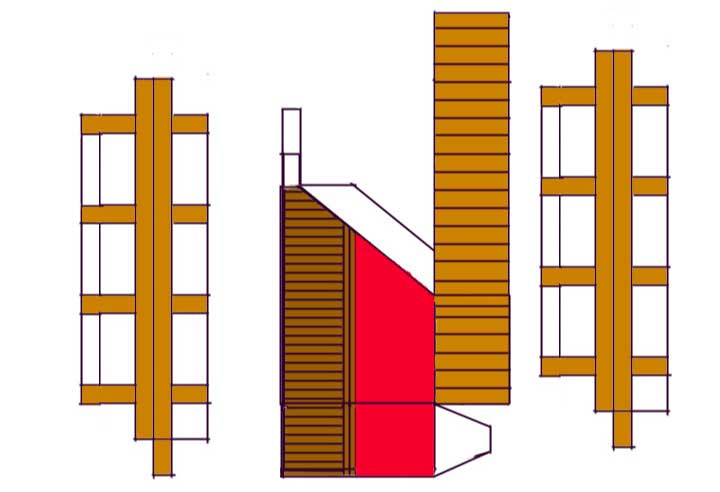
Balcony & Stairs: Constructing a balcony and stairs was a real challenge for a novice like me. The heart of the balcony was a box that was the right size. The walls of the balcony were made using the same design as the interior saloon walls. I drew the top of the balcony, railing, and stairs on my computer. I wasn't sure how the railing on the steps would fit together, so I made a long piece and cut it to size after printing. I used the usual method to put it together, scoring the fold lines and gluing with Elmer's. Wall Accessories - Lamps, Signs, etc.: I found a nice looking gas lamp picture and modified it on my computer. These lamps were printed and glued onto the walls. If you are wise enough to plan ahead they can, of course, be digitally cut and pasted onto the walls on the computer, rather than doing it physically as I did. I also added some signs to the walls to add some color. I produced some of my own saying things like "Open" and "Dancing Girls" in Microsoft Word. Check out www.lonestarcowboygear.com/ and www.oldwestsigns.com/ for some inspiration. The Stage: I found a nice picture of a stage curtain and added clip art pictures of columns to the ends. I put three columns at each end so they can be scored and folded to make a square corner. I didn't have a lot of room, so my columns were small and the curtain didn't stand up very well. I solved the problem by gluing a scrap of foam core to the back of the curtain and columns, hidden from view. The base of the stage is a cheap unfinished piece of wood (cut in half), which can be found at the craft store.
Frontline Furniture:
Frontline Wargaming (available from RLBPS) makes some nice 25mm resin furniture for the Wild West. The Hotel Lobby will provide two settees, a table, and two comfy chairs. The Saloon set will provide a bar, shelving, piano, two round tables and a pool table. I modified the shelving by installing a real mirror, and replacing the resin shot glasses with plastic ones (crystal bugle beads). The Sheriff's Office comes with a rifle rack, desk, chair, filing cabinet, and bed. Some of the other sets might also be useful.
Rectangular Tables, Roulette Table, and Benches:
Rectangular tables were made with wood from the local arts and crafts store. Look around in the unfinished wood section for some cheap pieces that are about the right size. After trimming the wood (I rounded the edges on my tables) I used Krazy Glue to attach some legs and glue together some benches. Finish them off by painting them brown. I wanted to make a roulette table. I found pictures of a wheel and table I liked. I combined these graphics on my computer, printed it on paper, trimmed it to the right size, and glued it to one of the tables.
Potted Plants:
I used some potted plants originally made for my pirate tavern to add some color. The pots were made from Lara's Crafts wooden "Mini Candle Cups," seven for 99 cents. I filled the tops with sculpey clay and baked them hard. I then drilled out a hole in each for the plant. I trimmed off some pieces of trees that had come off of a terrain piece from Scenic Terrains. They have plastic trunks and limbs with lichen glued to them. I glued the trunks into the holes I had drilled. The pots were painted terra cotta and the sculpey was painted brown. The trees tend to tip over rather easily which I don't see as much of a drawback (stuff happens when you have a brawl) but you can put some weight onto the bottoms.
Water Troughs:
I designed some simple water troughs on my computer. These can be printed out, glued together, and put around the outside of the saloon.
Accessories - spittoons, shot glasses, crates:
Some useful bits can be found at your local arts & crafts store. Lara's Crafts has a 12 pack of 3/8" wooden blocks ($0.88) that are the right size to represent a case of whiskey. I found a pack of 1/8" crystal bugle beads, which are the right size to represent shot glasses ($0.99 for a bag that'll last a lifetime). The beads are little clear cylinders and they tend to fall over. If that bothers you they can be glued onto the bars and tables, or several can be glued onto a piece of clear plastic transparency film. I used sculpey clay to fashion some spittoons. I'm a terrible sculptor, but I tried to make a round base and then attach a cone shaped piece to the top. After they were baked and painted I used my dremel rotary tool to grind the bases flat.
Round Tables:
Round tables can be easily and cheaply constructed by purchasing a pack of Lara's Crafts 9/16" wooden flower pots (ten for $0.88). Turn them upside down and glue a thin round piece of wood on top and paint it. Thin round bits of wood are cheap and plentiful at the craft store. You can also make decent tables out of the round plastic things they stick on pizzas to keep the cheese from sticking to the box lid. After they're cleaned off you can cut the legs down and you'll be left with a good table. They tend to be rather large. I used them as my poker tables, painting the inside part green and the outside ring brown.
Boxing Ring:
I constructed a boxing ring by cutting a square piece of illustration board. When I made the tables out of the plastic pizza thingies I had some left over plastic legs, which became the ring posts. I made the ring rope out of twine, using hot glue to anchor it to each post. A quick paint job and it was done.
Graphics
Note: You can download the individual graphics separately in most browsers by centering the cursor over the graphic, clicking on the right mouse button, and then selecting the "Save As" menu option. A file directory box will prompt you to save the graphic somewhere on your hard drive. Pick the location and save away. -- RL


![]()


![]()
More Western Smack Down Historicon 2003
- Introduction
Rules for the Game
Victory Points: Referee's Information
Victory Points: Player's Information
Battle Report
Saloon Construction: Graphics
Additional Graphics
Back to Table of Contents -- Junior General Report #3
Back to Junior General Report List of Issues
Back to MagWeb.com Magazine List
© Copyright 2003 by Matt Fritz.
This article appears in MagWeb.com (Magazine Web) on the Internet World Wide Web. Other articles covering military history and related topics are available at http://www.magweb.com