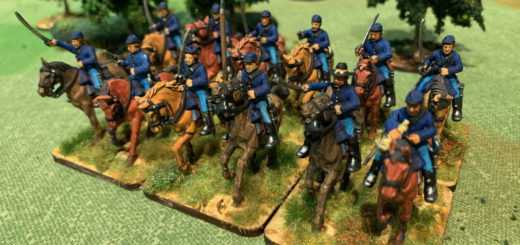
Battle of Oldendorf
We might soon play the Battle of Oldendorf, which was fought in 1633. A Magweb article may be found here. An imperial relief force of the besieged town of Hameln (nowadays Hamelin) was countered by a Swedish-german army.
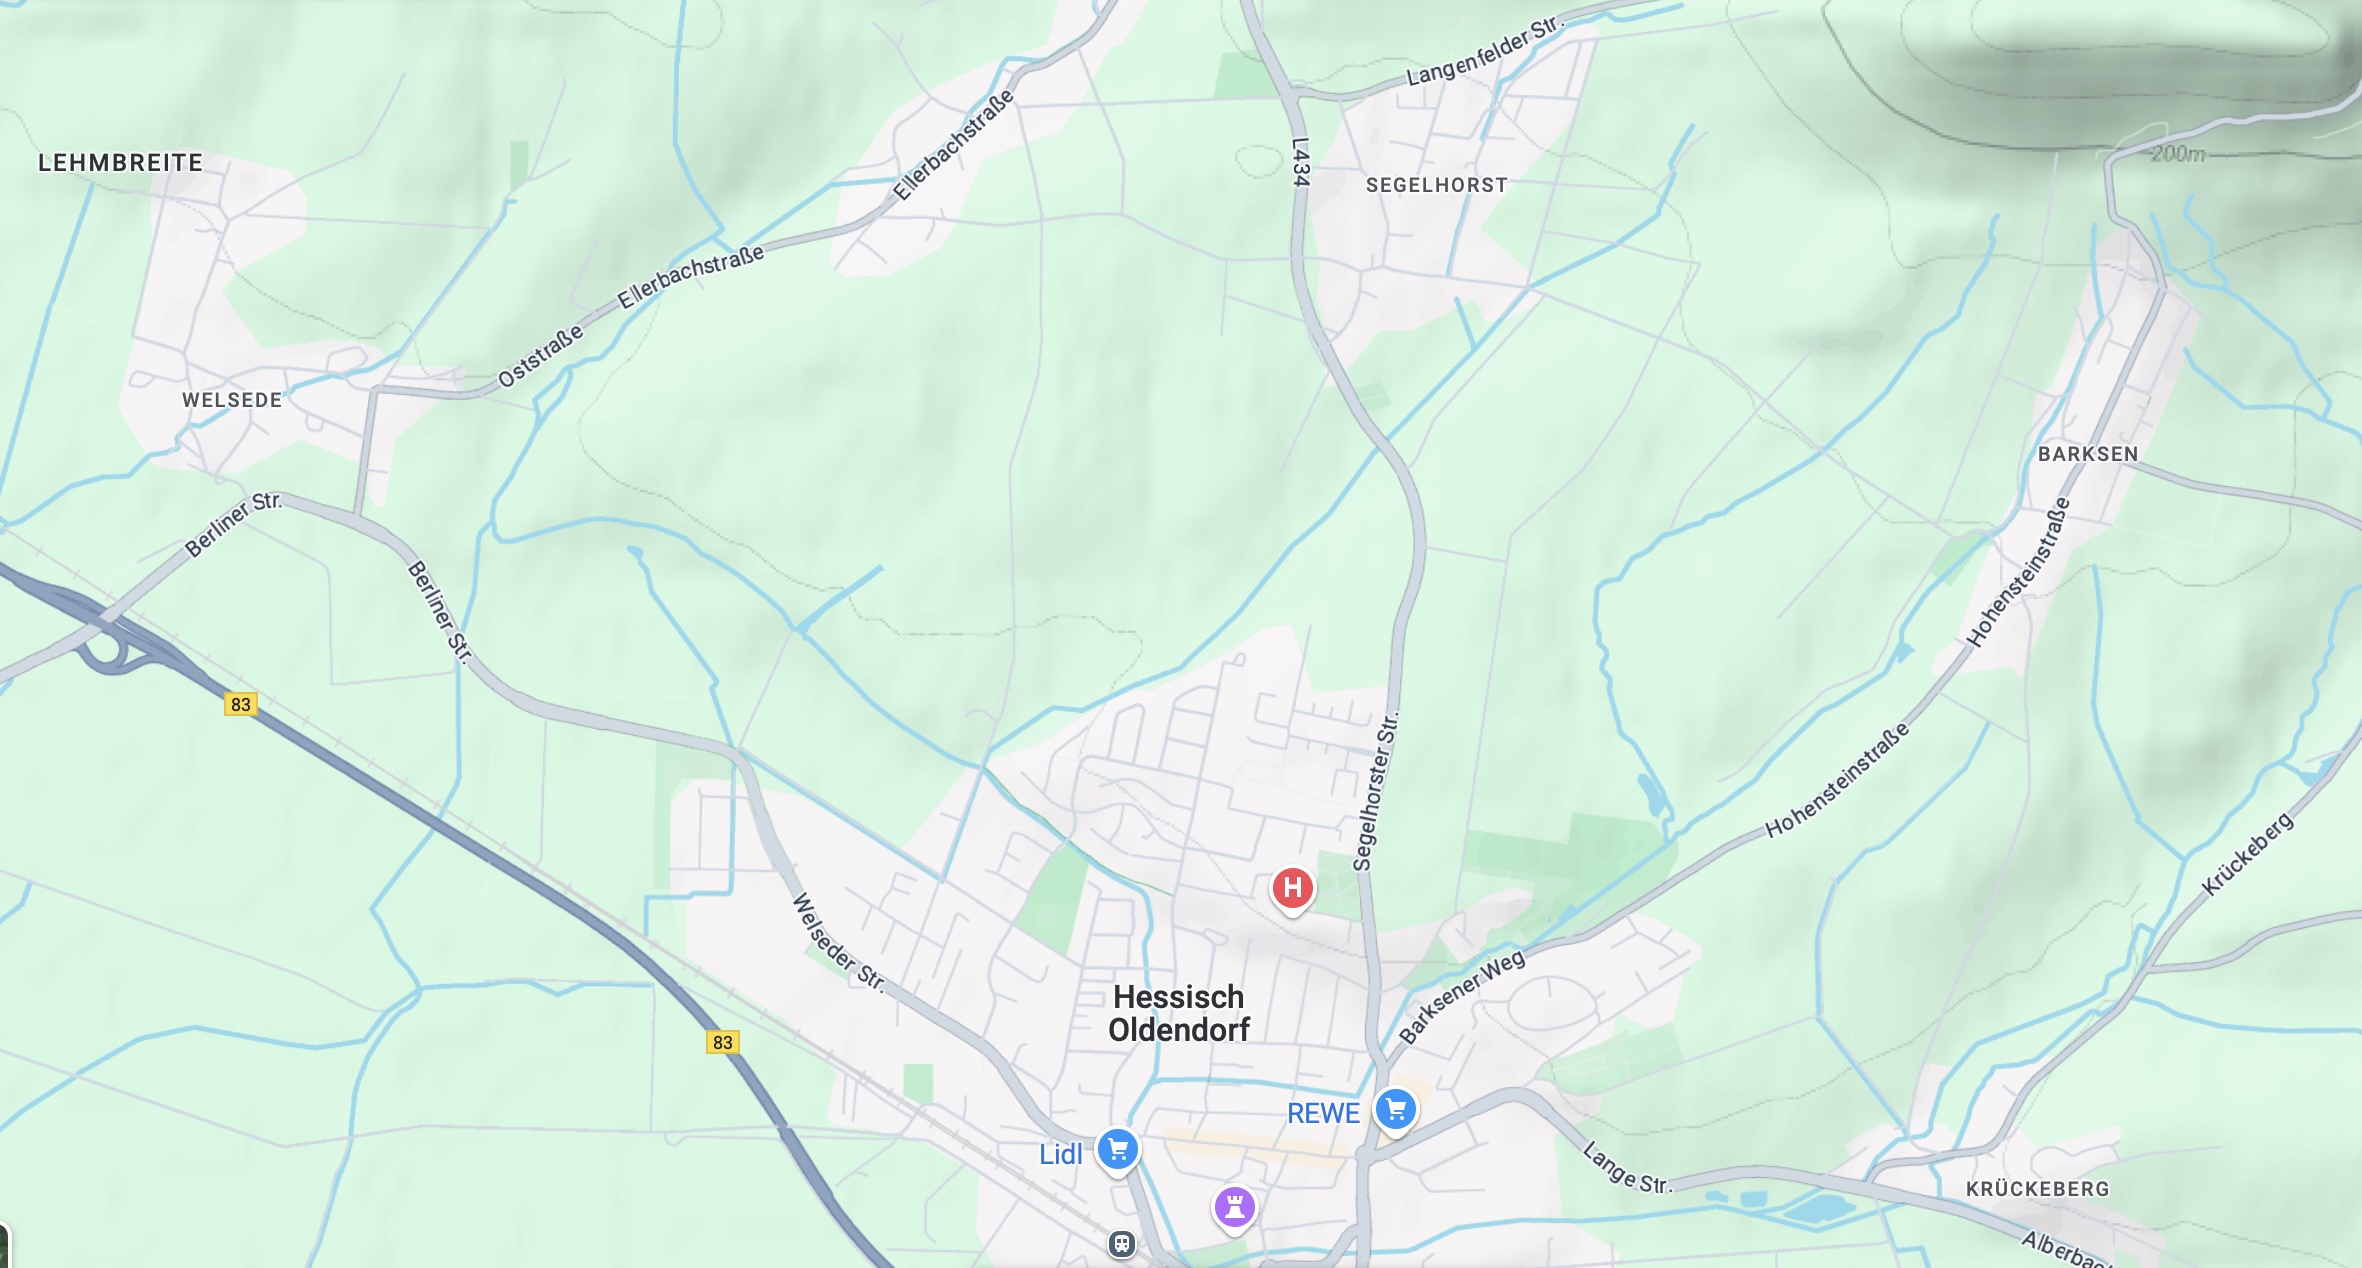
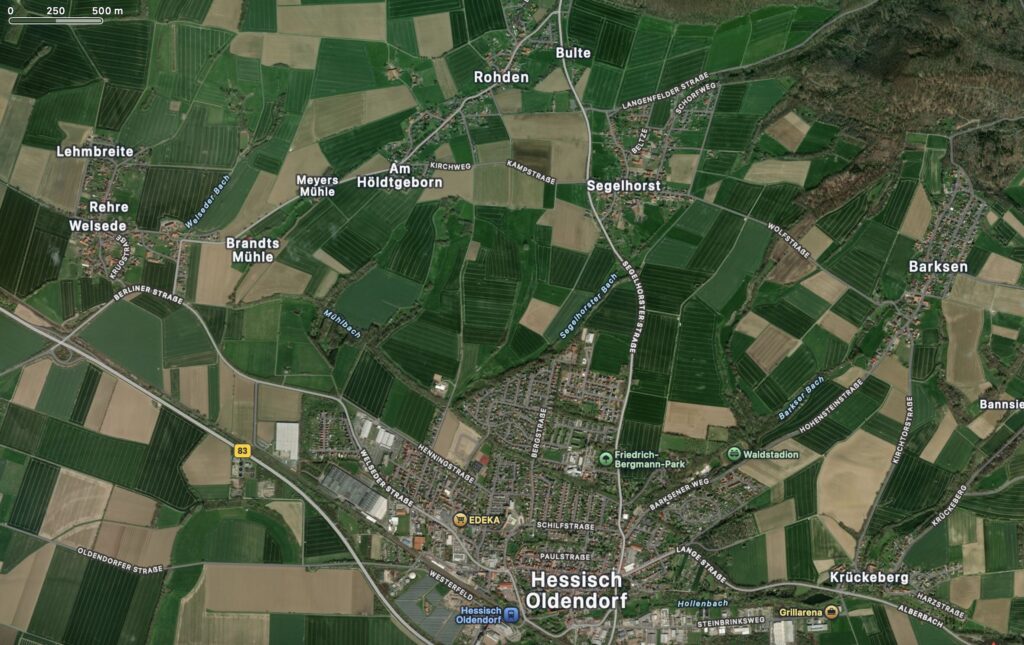
Looking at the map the relief force was probably coming through the gorge just north of Oldendorf, where the village of Rohden is sited. There is an otherwise very narrow space between the river and the ridge line, the river being lined with what at the time were swaps, for an army to come from the right side of the river and aid Hameln.
The imperial camp itself was sited just south of Rohden, as may be seen by the xix century map.
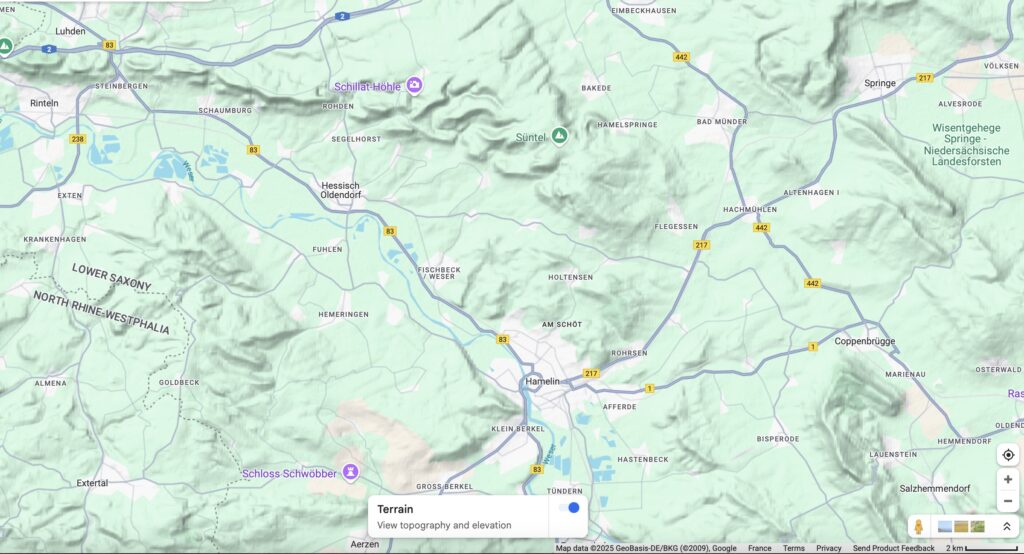
It is interesting to note on the topographical map below that both armies had well covered flanks, high ground on the north and the river on the south.

The battle should be interesting since it is a rare case in the Thirty Years War where the two armies attacked.
The idea is to play the full battle without recurring to bath-tubbing. I will probably need to extend my table to 12 feet x 6 feet to accomodate all the battlefield.
There is no scale on the map below, but looking at the Google Map scale, I estimate 2km between Oldendorf and Barksen and 1 km between Barksen and the Mittelborg ridge.
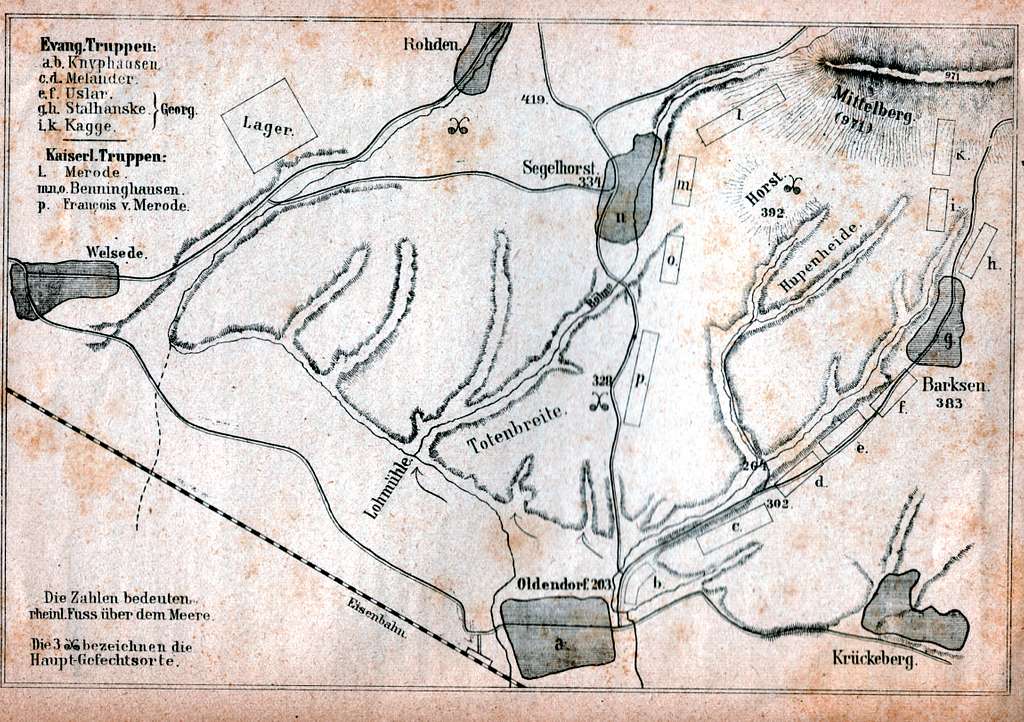
The order of battle below is taken from Guthrie. We will play with the battle timing to make the battle more even for the two sides. The swedish camp was most probably close to the besieged town, while the imperial was close by. We might decide to have arrival times of part of the Swedish army a bit delayed. An historical possibility!
The order of battle below is taken from Gordon ruleset, I hope it is fine to show it here. I understand it was directly translated from one of Guthrie’s books.
Swedish
1 General and 3 subordinate generals
Right Wing
- Stenbock Regt 2 stds Charging Cavalry WT
- Silversparre Regt 2 stds Charging Cavalry WT
- Sack Regt 2 stds Charging Cavalry WT
- Soop Regt 2 stds Charging Cavalry WT
- Stalhansk Regt 1 std Charging Cavalry WT
- Kagge Dragoon Regt 2 stds Mounted Arkebusier T
- Musket detachments 4 stds musketeers WT*
- 2 light guns stands
Centre
- Hessian Brigade 3 Swedish Squadrons of 3 stands each T
- Knyphausen Brigade 3 Swedish Squadrons of 3 stands each WT
- Kagge Brigade 3 Swedish Squadrons of 3 stands each WT
- 6 heavy guns stands
- 5 light gun stands
Left Wing
- Konigsmark Drag. Regt 2 stds Mounted Arkebusier T
- Mercier Regt 2 stds Later Cuirassier T
- Melander Regt 2 stds Later Cuirassier T
- Broneck Regt 2 stds Later Cuirassier T
- Carberg Regt 2 stds Later Cuirassier T
- St Andreas Drag. Regt 2 stds Mounted Arkebusier T
- Lewe Regt 2 stds Charging Cavalry WT
- Stalhansk Regt 2 stds Charging Cavalry WT
- Stalhansk Regt 2 stds Charging Cavalry WT
- Seekirch Regt 2 stds Later Cuirassier T
- Dalwigk Regt 2 stds Later Cuirassier T
- Rostein Regt 2 stds Later Cuirassier T
Reserve
- Georg Brigade 3 Swedish Squadrons of 3 stands each T
- Georg Regt 2 stds Later Cuirassier T
- Merode Regt 2 stds Later Cuirassier T
*Shoot two dice plus one for well trained and may salvo
Imperialist
1 general and 4 subordinates
Right Wing
- Ohr Regt 3 x 1 std Later Cuirassiers T
- Grensflo Regt 2 x 4 std Imperial Battalions T
- Gronsfeld Regt 2 x 2 std Mtd Arkebusiers T
- Musket detachements 2 stds musketeers T*
- Horst Regt 2 stds Mtd Arkebusiers T
Centre
- Merode Regt 1 x 4 stand Imperial battalion WT
- Quadt Regt 1 x 4 stand Imperial battalion WT
- Barry Regt 1 x 4 stand Imperial battalion T
- Waldeck Regt 1 x 6 stand Imperial battalion T
- Westfalen Regt 1 x 6 stand Imperial battalion T
- Westerhoud Regt 1 x 6 stand Imperial battalion P
- 2 heavy gun stands
- 2 light gun stands
Left Wing
- Westfalen Regt 2 x 2 std Later Cuirassiers T
- Pagant Regt 1 x 2 std Mtd Arkebusiers P
- Warter Regt 1 x 2 std Later Cuirassiers WT
- Musket detachments 6 stds musketeers T*
- Geleen Btn 1 x 3 stds of musketeers only P
- Mansfeld Regt 1 x 2 std Later Cuirassiers T
- Rittberg Regt 1 x 2 std Mtd Arkebusiers P
- Quadt Regt 1 x 1 std Later Cuirassiers T
- Merode Regt 1 x 2 std Dragoons T
Reserve
- Bonninghausen Regt 1 x 2 std Dragoons T
- Asti Regt 1 x 2 std Later Cuirassiers T
- Mansfeld Regt 1 x 2 std Later Cuirassiers T
- Musket Detachments 2 stds musketeers T*
- Flamorsin Regt 1 x 4 std Imperial Battalion T
- Reinach Regt 1 x 4 std Imperial Battalion P
- Bonninghausen Regt 1 x 1 std Later Cuirassiers T
*Shoot 1 die. Can’t salvo.