 Several years ago I replaced my felt with 3-D modular foam terrain. The felt was easy to transport and attractive but severely restricted the scenarios and realism, especially in small unit actions.
I had been making hills from Dow polystyrene foam insulation for some time, and being familiar with the material, chose it for making modular terrain panels.
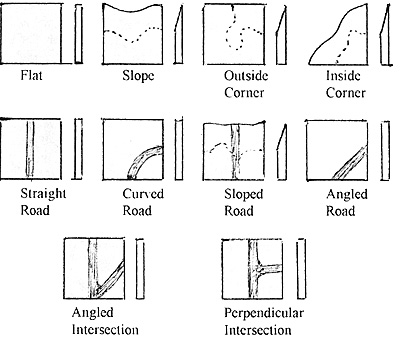
I decided to use one foot squares of 1" thick foam as the size of the basic terrain panel; larger panels could also be used (they reduce setup time). I settled on ten different basic panels for my scenery. As long as the edge profiles are the same, you can do anything to the panel between the edges. The drawing below shows the ten basic panels with a side profile. The dashed line indicates the crest on the sloped pieces.
The panels are interchangable and allow great variety in the table layout I've found that using these generic panels with some historically acurate panels allow you to reproduce farely accurate battlefields. The panels fit together as shown in the following diagram.
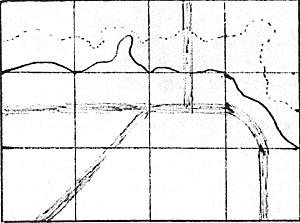 I've experimented with 3", 4", and 6" slopes and prefer the 6". The dimension denotes the distance between the crest and the "front" edge of the panel.
In addition to the above panels, I've created river and stream systems, of set roads, and special hills and contours.
The river sections are similar to roads but with varying width: the banks have 45 degree slope at the edges. Rivers can be made easily from %s" foam by gluing the raised river bank portion to a 1/2" thick base; expose part of the base to represent the water.
The stream was made by routing out a 3/8" slot with a dremel and carving the banks with a razor knife.
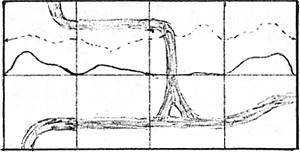
The offset road system gives more variety to the layout but the panels are not always reversible. I use 1 1/2" wide roads for 15mm with the centerline of the road set three inches from the edge of the panel. This road system will follow along 6" slopes which conflict will roads set in the center of the tile. Examples of the offset road are shown below.
 Most of the terrain will work in any scale. My narrow (1 1/2") roads work for micro-scale to 15mm and the wider (2 3/4") roads work for 15mm to 25mm. Consider the scales that you game in when designing interchangeable systems.
The foam comes in 4' by 8' sheets ranging from 1/2" to 4" thickness. To cut the panels you will need access to a table saw and/or bandsaw.
I trace the edge profiles onto the foam panels and cut the profile with a hack saw blade. The contour of the terrain is shaped with the hacksaw blade, a dremel. a small orbital sander, and sanding blocks. Thinned Woodland Scenics Flex Paste gives a protective coating to the foam. I finish the terrain with a base coat of artists acrylic paint and flock with Woodland Scenics flocking materials using artists acrylic matte medium or matte varnish.
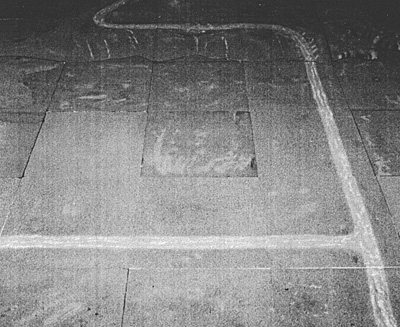 A view of 1' square modular terrain panels before setting up the "fluff'.
While it is possible to create very realistic terrain, the terrain may not be suitable for your rules system. It tends to lend itself to small level skirmishes and mechanized warfare quite well, but methods of movement and basing may not be compatible with this type of terrain.
In this article I've tried to present sonic ideas for those interested in building modular terrain. Please don't allow yourself to be limited by the methods addressed in this article; be creative. Before starting, be sure to sketch out a map of your terrain nodules. and consider the limits and needs of the rules that you use. If you have questions or problems with your terrain please write to me at The Herald.
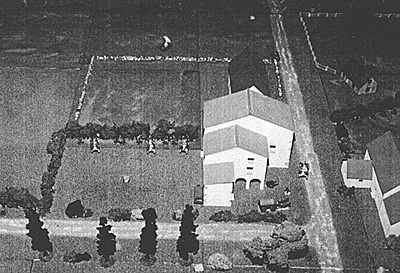
A view of the battle on the terrain shown in the previous photo.
Back to The Herald 2 Table of Contents
Back to The Herald List of Issues
Back to MagWeb Master Magazine List
© Copyright 1994 by HMGS-GL.
This article appears in MagWeb.com (Magazine Web) on the Internet World Wide Web. Other military history articles and gaming articles are available at http://www.magweb.com